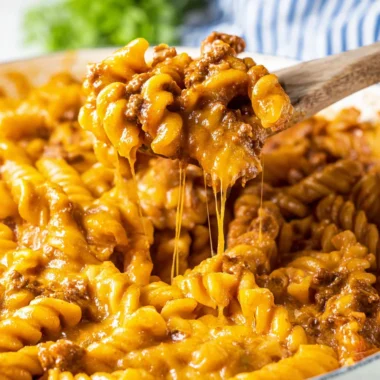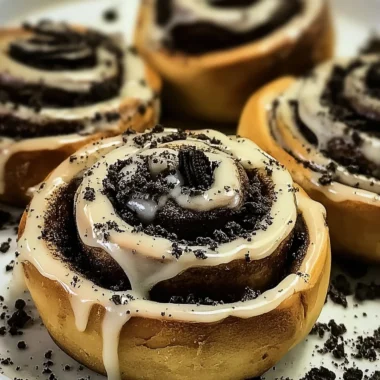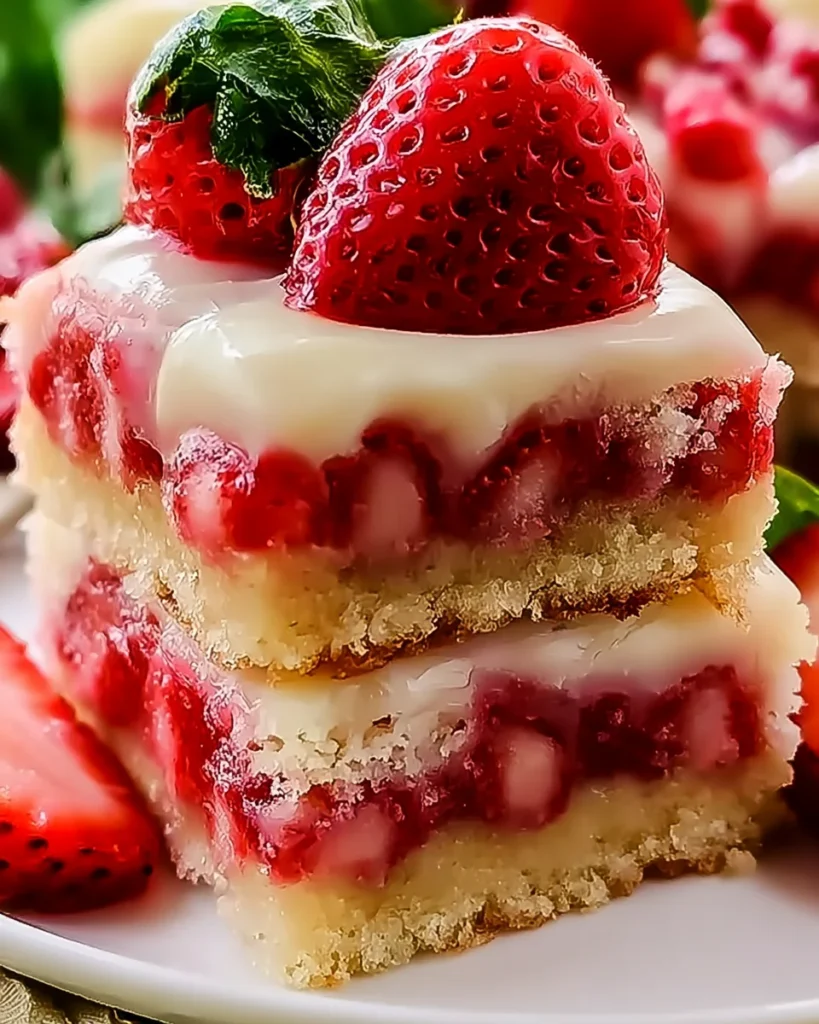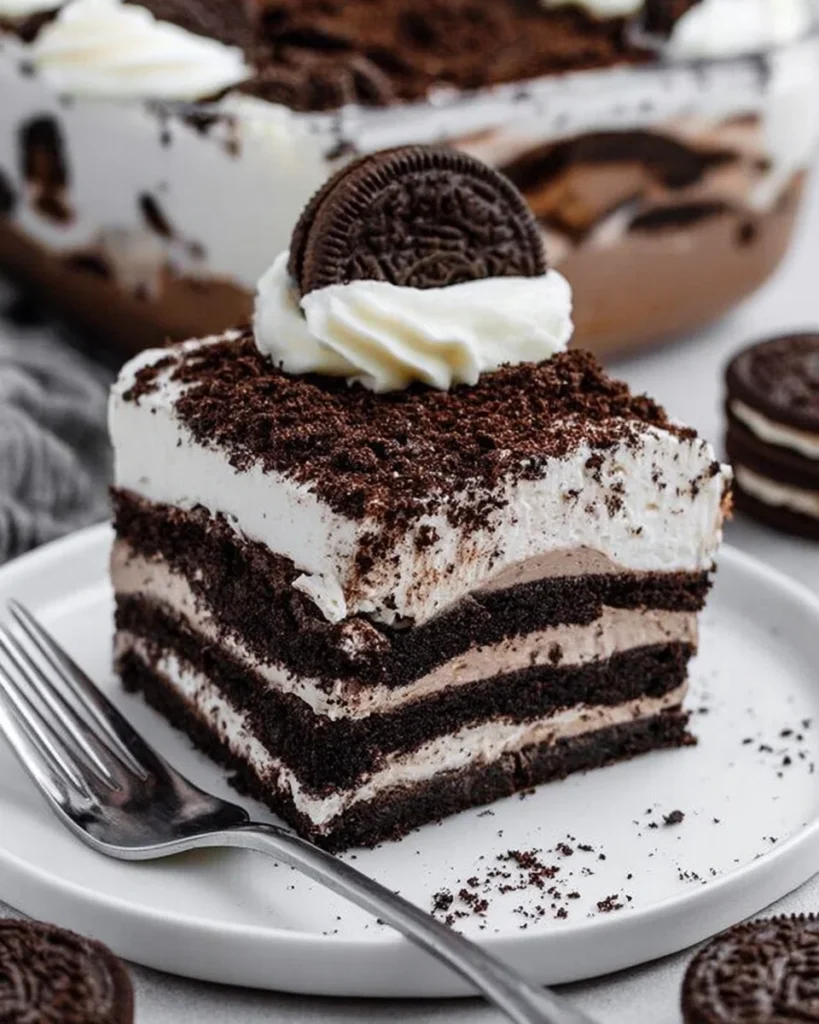
There’s something so comforting about a warm dessert that brings back memories of family gatherings and sweet celebrations. This Cherry Cheesecake Dump Cake is just that—a delightful blend of creamy cheesecake and tart cherries, all wrapped up in a simple dump cake that you can whip up in no time. It’s the perfect treat for any occasion, whether you’re hosting a dinner party or just want something sweet to enjoy at home.
Why You’ll Love Cherry Cheesecake Dump Cake
- Fast
- Easy
- Giftable
- Crowd-pleasing
Ingredients
Gather these simple ingredients and get ready to create something delicious:
- 1 can (21 oz) cherry pie filling – the star of the show that adds a sweet and tart flavor.
- 1 package (8 oz) cream cheese, softened – for that creamy texture that balances the cherries perfectly.
- 1 cup powdered sugar – to sweeten the cream cheese mixture.
- 1 teaspoon vanilla extract – for a hint of warmth and flavor.
- 1 box (15.25 oz) yellow cake mix – the base of our cake that makes this recipe so easy.
- 1/2 cup unsalted butter, melted – this adds richness to the cake.
- 1 cup sour cream – for extra moisture and a zingy flavor.
- 1/2 cup chopped pecans (optional) – a crunchy topping that adds texture.
How to Make Cherry Cheesecake Dump Cake
Ready to dive in? Let’s get started!
- Preheat your oven to 350°F (175°C).
- In a medium bowl, mix the softened cream cheese, powdered sugar, and vanilla extract until smooth and well combined.
- Spread the cherry pie filling evenly on the bottom of a greased 9×13 inch baking dish.
- Drop spoonfuls of the cream cheese mixture over the cherry filling, making sure to spread it out a bit.
- In another bowl, combine the yellow cake mix with the melted butter and sour cream. Stir until just combined; be careful not to overmix!
- Pour the cake batter over the cream cheese and cherry layers, spreading it evenly.
- If you’re feeling fancy, sprinkle chopped pecans on top of the cake batter for a nice crunch.
- Bake in the preheated oven for 40-45 minutes, or until the top is golden brown and a toothpick inserted in the center comes out clean.
- Allow the cake to cool for a few minutes before serving. Enjoy it warm or chilled—both ways are heavenly!
Substitutions & Additions
Don’t have all the ingredients? No problem! Here are some easy swaps and creative upgrades:
- Use different fruit fillings like blueberry or peach for a unique twist.
- For a lighter version, you can replace sour cream with Greek yogurt.
- If you prefer a gluten-free option, try a gluten-free cake mix instead.
Tips for Success
Here are some handy tips to ensure your Cherry Cheesecake Dump Cake turns out perfect:
- Make sure your cream cheese is softened for easier mixing.
- Don’t overmix the cake batter; it should be slightly lumpy for the best texture.
- You can prepare the cream cheese mixture a day ahead and store it in the fridge until you’re ready to bake.
How to Store Cherry Cheesecake Dump Cake
Storing your delicious creation is easy! Here are some tips:
- Cover the cake with plastic wrap or foil and store it in the refrigerator for up to 5 days.
- You can also freeze it for up to 3 months. Just make sure to wrap it tightly!
FAQs
- Can I make this cake ahead of time? Yes! You can prepare it a day in advance and refrigerate it until you’re ready to bake.
- What can I use instead of cream cheese? You can use mascarpone cheese for a slightly different flavor.
- Is it possible to make this cake without eggs? Yes, this recipe does not require eggs, making it a great option for egg-free diets.
This Cherry Cheesecake Dump Cake is sure to become a favorite in your home! For more delicious recipes, check out the Pecan Cheesecake Pie or Delightful Strawberry Crunch Cheesecake for treats you will love!
If you’re looking for more inspiration and tasty ideas, be sure to follow our Pinterest account for mouthwatering recipes and tips!
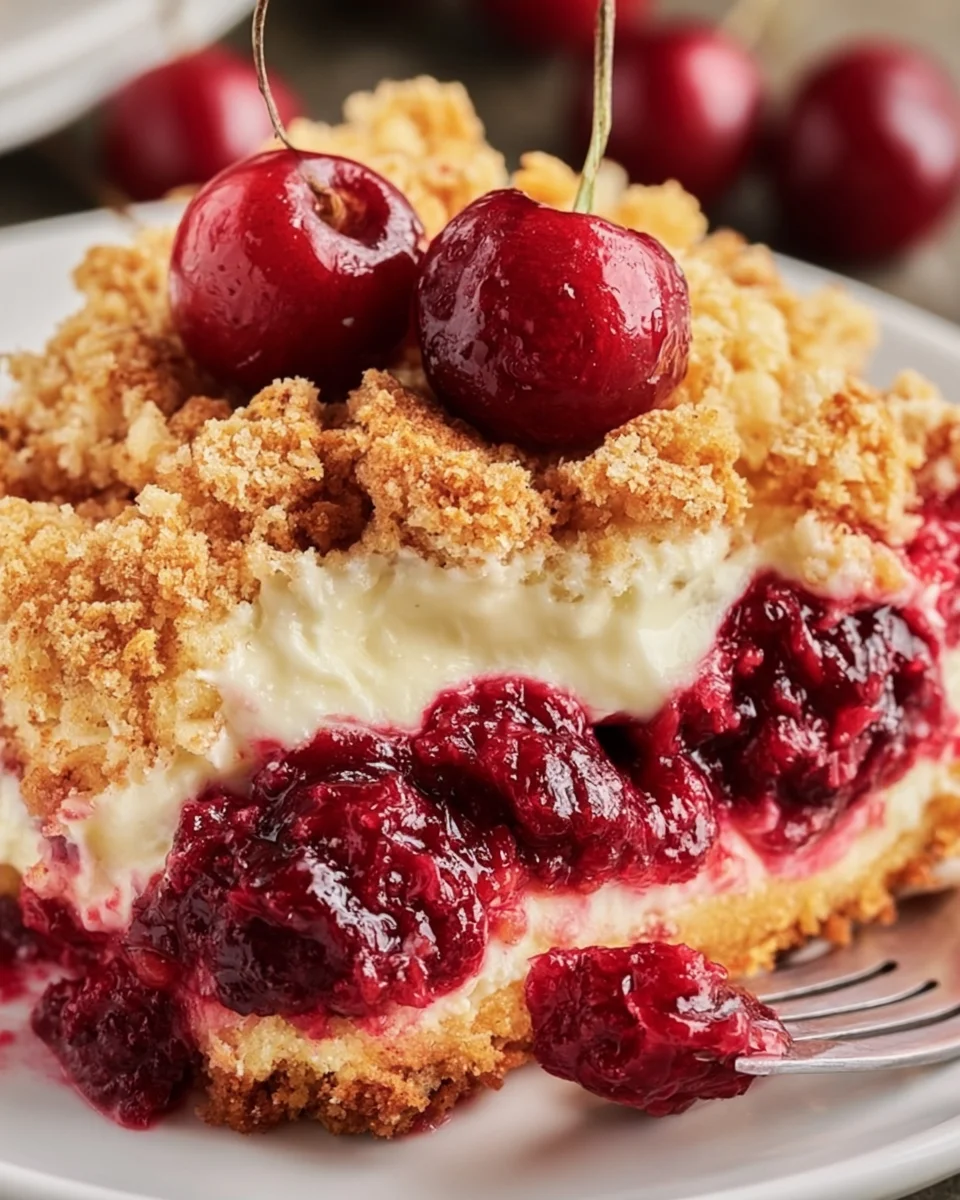
Cherry Cheesecake Dump Cake
Ingredients
Equipment
Method
- Step 1: Preheat your oven to 350°F (175°C).
- Step 2: In a medium bowl, mix the softened cream cheese, powdered sugar, and vanilla extract until smooth and well combined.
- Step 3: Spread the cherry pie filling evenly on the bottom of a greased 9x13 inch baking dish.
- Step 4: Drop spoonfuls of the cream cheese mixture over the cherry filling, making sure to spread it out a bit.
- Step 5: In another bowl, combine the yellow cake mix with the melted butter and sour cream. Stir until just combined; be careful not to overmix!
- Step 6: Pour the cake batter over the cream cheese and cherry layers, spreading it evenly.
- Step 7: If you're feeling fancy, sprinkle chopped pecans on top of the cake batter for a nice crunch.
- Step 8: Bake in the preheated oven for 40-45 minutes, or until the top is golden brown and a toothpick inserted in the center comes out clean.
- Step 9: Allow the cake to cool for a few minutes before serving. Enjoy it warm or chilled—both ways are heavenly!