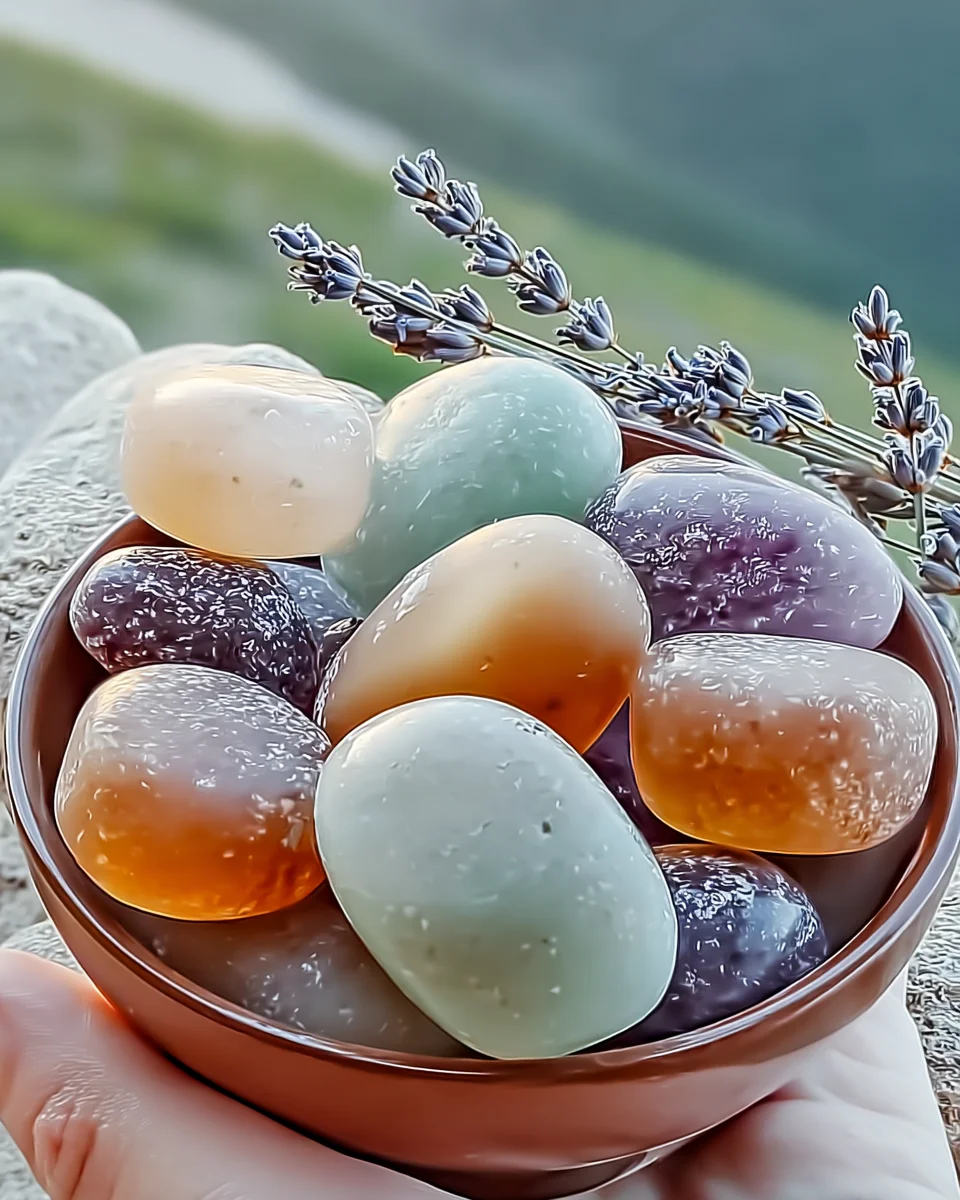
There’s something magical about walking into a room filled with delightful scents. It instantly elevates your mood and transforms the atmosphere. Making your own scented aroma stones is not only an easy and fun craft, but it also allows you to infuse your home with your favorite fragrances. Plus, these little gems make fantastic gifts! Trust me, you will love how quick and rewarding this project is.
Why You’ll Love Easy DIY Scented Aroma Stones Recipe
- Fast
- Easy
- Giftable
- Crowd-pleasing
Ingredients
- 2 cups baking soda: This is the main ingredient that gives your stones their structure.
- 1 cup cornstarch: Helps to create a smooth texture and adds to the durability of the stones.
- 1 cup water: Just enough to bind everything together.
- 20-30 drops of essential oil: Choose your favorite scent! Lavender for relaxation, citrus for freshness, or eucalyptus for a spa-like experience.
- Optional: food coloring: A fun way to add a splash of color to your aroma stones.
How to Make Easy DIY Scented Aroma Stones Recipe
Ready to get started? Let me walk you through it step by step:
- In a large mixing bowl, combine the baking soda and cornstarch. Mix them well until they are fully blended.
- Gradually add the water to the dry mixture, stirring continuously until you achieve a smooth consistency. You want it to be thick but pourable.
- Add the essential oil to the mixture and stir well. If you’re feeling creative and want to add color, this is the perfect time to do so! Just a few drops of food coloring will brighten things up.
- Now, pour the mixture into silicone molds or shape it by hand into your desired forms. I love using heart or star molds, but feel free to get creative!
- Allow your aroma stones to dry for 24-48 hours until they are completely hardened. Patience is key here!
- Once dry, gently remove the stones from the molds and store them in a cool, dry place until you’re ready to use them or gift them.
Substitutions & Additions
If you’re looking to switch things up, consider these fun variations:
- Use different types of essential oils to match the season or your mood.
- Add dried flowers or herbs to the mixture for a natural touch.
- Experiment with different molds, like ice cube trays or cookie cutters, for unique shapes.
Tips for Success
To ensure your aroma stones turn out perfectly, keep these tips in mind:
- Make sure to mix the ingredients thoroughly to avoid any lumps.
- Check the drying environment; a warm, dry place will speed up the process.
- If you find the mixture too dry, add a little water; too wet, add a bit more baking soda.
How to Store Easy DIY Scented Aroma Stones Recipe
Once your aroma stones are dry, store them in an airtight container to keep their scent fresh. They should last for several months if kept in a cool, dry place. Just remember, the scent will fade over time, but you can always refresh them with a few more drops of essential oil when needed!
FAQs
- Can I use any essential oil? Yes, feel free to choose any scent you love!
- How long do they last? The aroma stones can last a few months, depending on the essential oils used.
- Can I use regular molds? Silicone molds work best, but you can shape them by hand if you prefer.
Making these easy DIY scented aroma stones is not just a fun activity; it also allows you to personalize your home with delightful fragrances. For more delicious recipes, check out the Twix Cookie Cups or the Decadent Self-Saucing Butterscotch Pudding for treats you will love!
Don’t forget to follow us on Pinterest for even more inspiration and ideas!
Easy DIY Scented Aroma Stones
Ingredients
Equipment
Method
- Step 1: In a large mixing bowl, combine the baking soda and cornstarch. Mix them well until they are fully blended.
- Step 2: Gradually add the water to the dry mixture, stirring continuously until you achieve a smooth consistency. You want it to be thick but pourable.
- Step 3: Add the essential oil to the mixture and stir well. If you're feeling creative and want to add color, this is the perfect time to do so!
- Step 4: Pour the mixture into silicone molds or shape it by hand into your desired forms.
- Step 5: Allow your aroma stones to dry for 24-48 hours until they are completely hardened.
- Step 6: Once dry, gently remove the stones from the molds and store them in a cool, dry place until you're ready to use them or gift them.