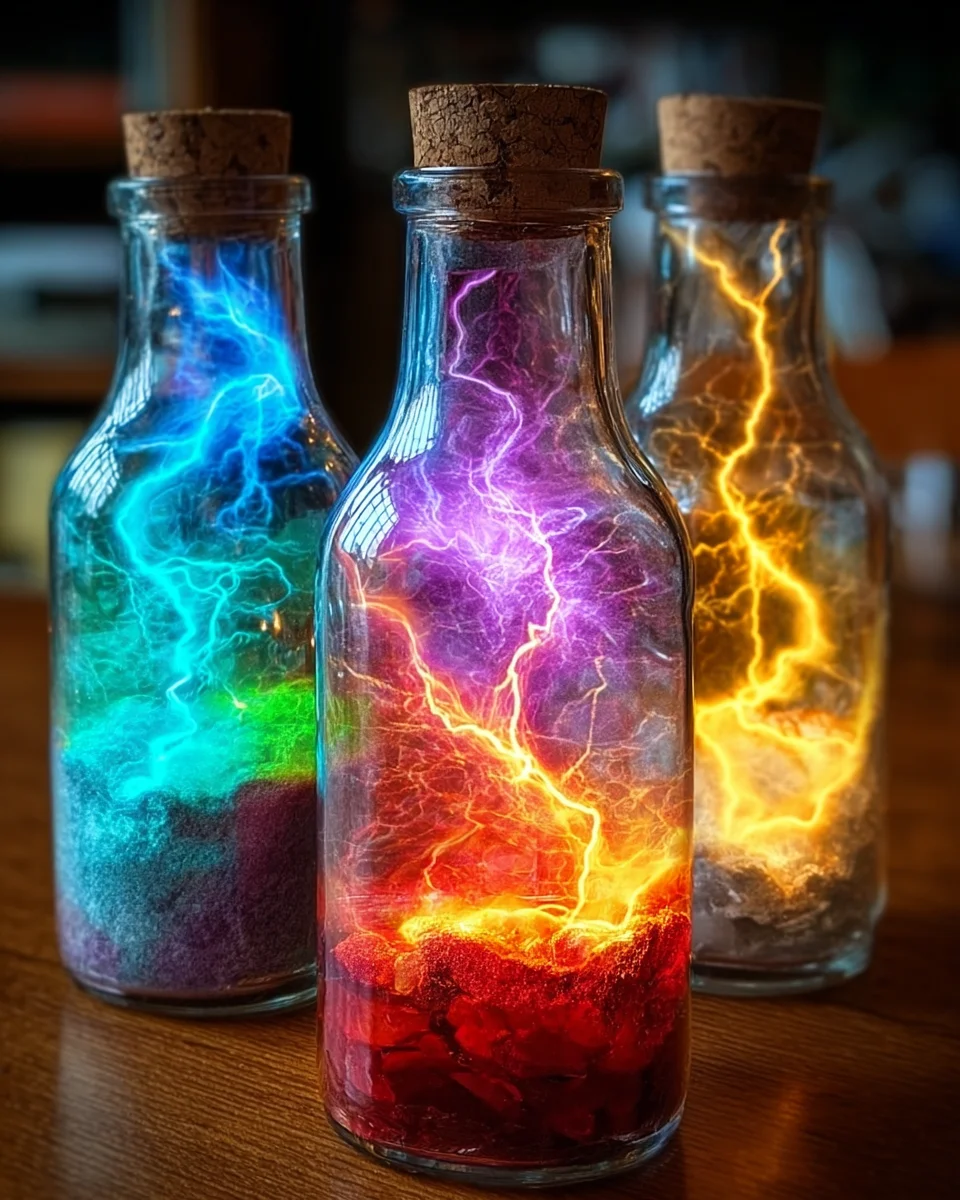
Remember those sunny afternoons when you were a kid, mesmerized by colorful science experiments? Well, today, we’re going to recreate that magic with a fun and easy project: Magical Bubbling Rainbow Lightning Bottles! This delightful activity is not only quick to make, but it’s also a perfect way to spend time with friends or family. So, roll up your sleeves, and let’s get started!
Why You’ll Love Create Magical Bubbling Rainbow Lightning Bottles Recipe
- Fast
- Easy
- Giftable
- Crowd-pleasing
Ingredients
- 1 cup water – The base for our colorful concoction.
- 1 cup baking soda – This is what creates the fizz! It’s a key player in our bubbling effect.
- 1 cup white vinegar – The magic ingredient that makes everything bubble enthusiastically.
- Food coloring (various colors) – To bring your rainbow to life!
- 1 tablespoon dish soap – This helps create those fun bubbles.
- Clear plastic bottles or jars – Perfect for showcasing your colorful creations.
- Funnel (optional) – Makes pouring easier, especially if you’re using smaller bottles.
How to Make Create Magical Bubbling Rainbow Lightning Bottles Recipe
Now that we have our ingredients ready, let’s dive into the steps!
- In a mixing bowl, combine the baking soda and dish soap. Stir until well mixed. This will be your bubbling mixture!
- Using a funnel, fill each plastic bottle or jar about one-third full with the baking soda mixture. If you don’t have a funnel, you can carefully do this by hand, but a funnel makes it easier.
- In a separate container, mix the water with several drops of food coloring to create your desired colors. Feel free to get creative and mix colors for even more fun!
- Carefully pour the colored water into each bottle or jar, filling them about halfway. Watch as the colors blend beautifully!
- Slowly add vinegar to each bottle or jar, observing the bubbling reaction. Add more vinegar as desired for increased fizzing. This is where the magic happens!
- Watch the magical bubbling reaction and enjoy the colorful display! It’s a feast for the eyes and a great conversation starter.
Substitutions & Additions
If you want to switch things up a bit, consider these fun ideas:
- Try using flavored sparkling water instead of plain water for an added twist.
- Add glitter to the baking soda mixture for a sparkly effect.
- Experiment with different sizes of bottles or jars for varying effects.
Tips for Success
Here are a few tips to ensure your bubbling bottles turn out perfectly:
- Make sure to add vinegar slowly to avoid overflowing.
- If you’re preparing this as a gift, consider layering the baking soda and colored water for a pretty presentation.
- Keep a towel handy to clean up any spills during the bubbling process!
How to Store Create Magical Bubbling Rainbow Lightning Bottles Recipe
These Magical Bubbling Rainbow Lightning Bottles are best enjoyed fresh, as the reaction will eventually stop once the baking soda and vinegar have completely reacted. If you want to store them for a short period, you can keep them sealed, but I recommend using them within a day or two for the best experience.
FAQs
- Can I reuse the bottles? Yes, but you’ll need to clean them thoroughly to remove any residue from the previous experiment.
- Is this safe for kids? Absolutely! Just make sure to supervise younger kids during the process.
- What if I run out of vinegar? You can use lemon juice as a natural alternative, though the reaction may be less vigorous.
Creating these Magical Bubbling Rainbow Lightning Bottles is a fantastic way to spark curiosity and creativity, whether you’re doing it with kids or just indulging your own inner child. For more delicious recipes, check out the Twix Cookie Cups or try the Self-Saucing Butterscotch Pudding for more delightful treats you will love!
Be sure to follow us on Pinterest for more fun ideas and recipes to inspire your kitchen adventures!
Create Magical Bubbling Rainbow Lightning Bottles
Ingredients
Equipment
Method
- Step 1: In a mixing bowl, combine the baking soda and dish soap. Stir until well mixed. This will be your bubbling mixture!
- Step 2: Using a funnel, fill each plastic bottle or jar about one-third full with the baking soda mixture. If you don’t have a funnel, you can carefully do this by hand.
- Step 3: In a separate container, mix the water with several drops of food coloring to create your desired colors. Feel free to get creative and mix colors for even more fun!
- Step 4: Carefully pour the colored water into each bottle or jar, filling them about halfway. Watch as the colors blend beautifully!
- Step 5: Slowly add vinegar to each bottle or jar, observing the bubbling reaction. Add more vinegar as desired for increased fizzing. This is where the magic happens!
- Step 6: Watch the magical bubbling reaction and enjoy the colorful display! It’s a feast for the eyes and a great conversation starter.