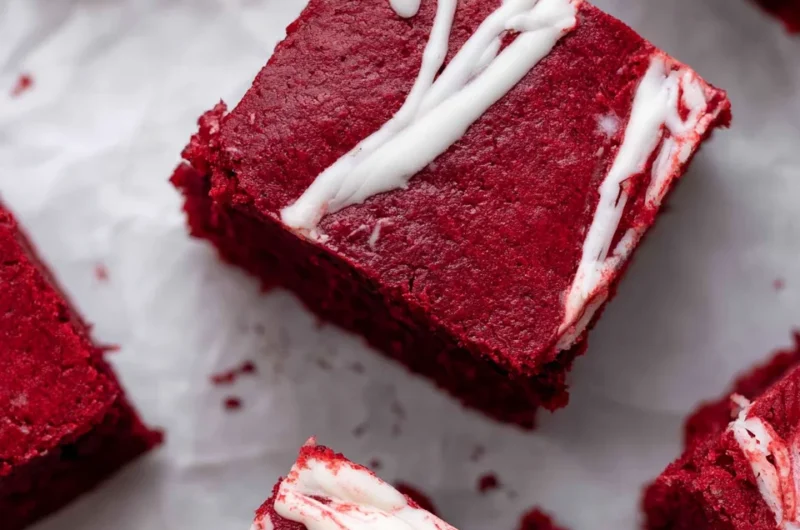
There’s something absolutely magical about the combination of red velvet and chocolate. It brings back memories of special occasions, cozy family gatherings, and the delightful aroma wafting through the kitchen. Today, I’m excited to share a recipe for the best fudgy red velvet brownies that are not only easy to whip up but also incredibly memorable. These brownies are perfect for sharing with friends, bringing to gatherings, or simply treating yourself after a long day. Let’s dive right in!
Why You’ll Love The Best Fudgy Red Velvet Brownies Recipe
- Fast
- Easy
- Giftable
- Crowd-pleasing
Ingredients
- 1 cup (2 sticks) unsalted butter – the rich base for that fudgy texture
- 1 ½ cups granulated sugar – for sweetness that balances the cocoa
- 1 cup packed brown sugar – adds depth and moisture
- 4 large eggs – the binding agent that makes these brownies so rich
- 1 tablespoon vanilla extract – for a warm, inviting flavor
- 1 tablespoon red food coloring – to give those brownies their signature hue
- 1 ½ cups all-purpose flour – the structure that holds everything together
- ½ cup unsweetened cocoa powder – for that deep chocolate flavor
- 1 teaspoon baking powder – to help them rise just a bit
- ½ teaspoon baking soda – adds a little lift
- ½ teaspoon salt – enhances all the flavors
- 1 cup chocolate chips (optional) – for extra chocolatey goodness
- ½ cup chopped walnuts or pecans (optional) – adds a delightful crunch
How to Make The Best Fudgy Red Velvet Brownies Recipe
- Preheat the Oven: Start by preheating your oven to 350°F (175°C). Grease and line a 9×13 inch baking pan with parchment paper.
- Melt the Butter: In a medium saucepan, melt the butter over low heat. Once melted, remove from heat and let it cool slightly.
- Mix Sugars: In a large mixing bowl, combine the melted butter, granulated sugar, and brown sugar. Stir until well combined.
- Add Eggs and Flavorings: Add the eggs one at a time, mixing well after each addition. Stir in the vanilla extract and red food coloring until fully incorporated.
- Combine Dry Ingredients: In a separate bowl, whisk together the flour, cocoa powder, baking powder, baking soda, and salt.
- Combine Wet and Dry Ingredients: Gradually add the dry ingredients to the wet ingredients, mixing until just combined. Be careful not to overmix, as this can make the brownies tough.
- Fold in Chocolate Chips and Nuts: If you’re using them, fold in the chocolate chips and chopped nuts until evenly distributed throughout the batter.
- Bake: Pour the brownie batter into the prepared baking pan, spreading it evenly. Bake in the preheated oven for 25-30 minutes, or until a toothpick inserted into the center comes out with a few moist crumbs (not wet batter).
- Cool and Serve: Allow the brownies to cool in the pan for about 15 minutes. Then, lift them out using the parchment paper and let them cool completely on a wire rack. Cut into squares and enjoy!
Substitutions & Additions
If you’re looking to switch things up a bit, here are some fun ideas:
- Use coconut oil instead of butter for a dairy-free option.
- Swap out the chocolate chips for white chocolate chips for a fun contrast.
- Add a teaspoon of espresso powder to enhance the chocolate flavor even more.
- Try adding a layer of cream cheese frosting on top for a decadent twist!
Tips for Success
Here are a few tips to ensure your brownies turn out perfectly:
- Make sure not to overmix the batter; this keeps them fudgy and soft.
- Allow the brownies to cool completely before cutting; this helps with clean edges.
- If you’re short on time, you can skip the cooling step and enjoy them warm with a scoop of ice cream!
How to Store The Best Fudgy Red Velvet Brownies Recipe
To keep your brownies fresh, store them in an airtight container at room temperature for up to 3 days. If you want to keep them longer, you can refrigerate them for about a week or freeze them for up to 3 months. Just make sure to wrap them tightly to prevent freezer burn!
FAQs
Can I make these brownies ahead of time? Absolutely! You can make them a day or two in advance and store them covered until you’re ready to serve.
What if I don’t have red food coloring? You can omit it, but your brownies will be more chocolatey than red velvet. Alternatively, beet juice can be a natural substitute.
Can I use gluten-free flour? Yes! A 1:1 gluten-free flour blend should work just fine in this recipe.
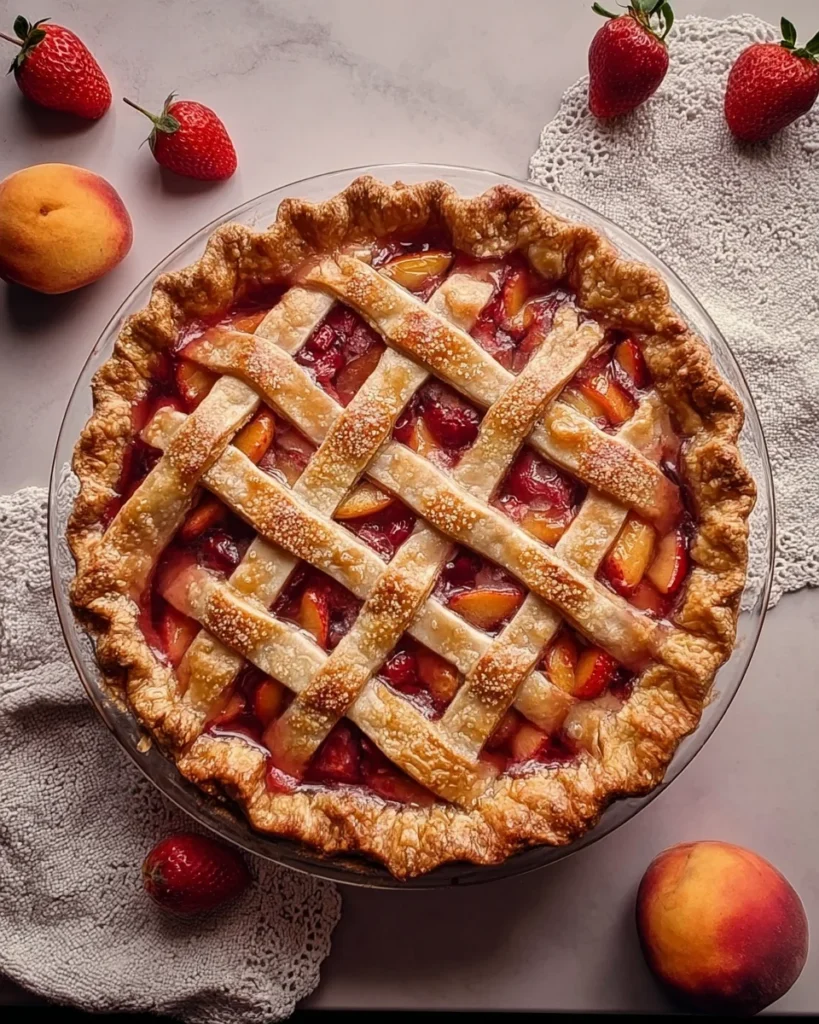
I hope you enjoy making these delightful red velvet brownies as much as I do. They are perfect for any occasion, whether you are celebrating or just indulging in a sweet treat. For more delicious recipes, check out my apple pie or Twix cookie cups recipe for treats you will love!
Don’t forget to follow our Pinterest account for more delightful recipes and inspiration!
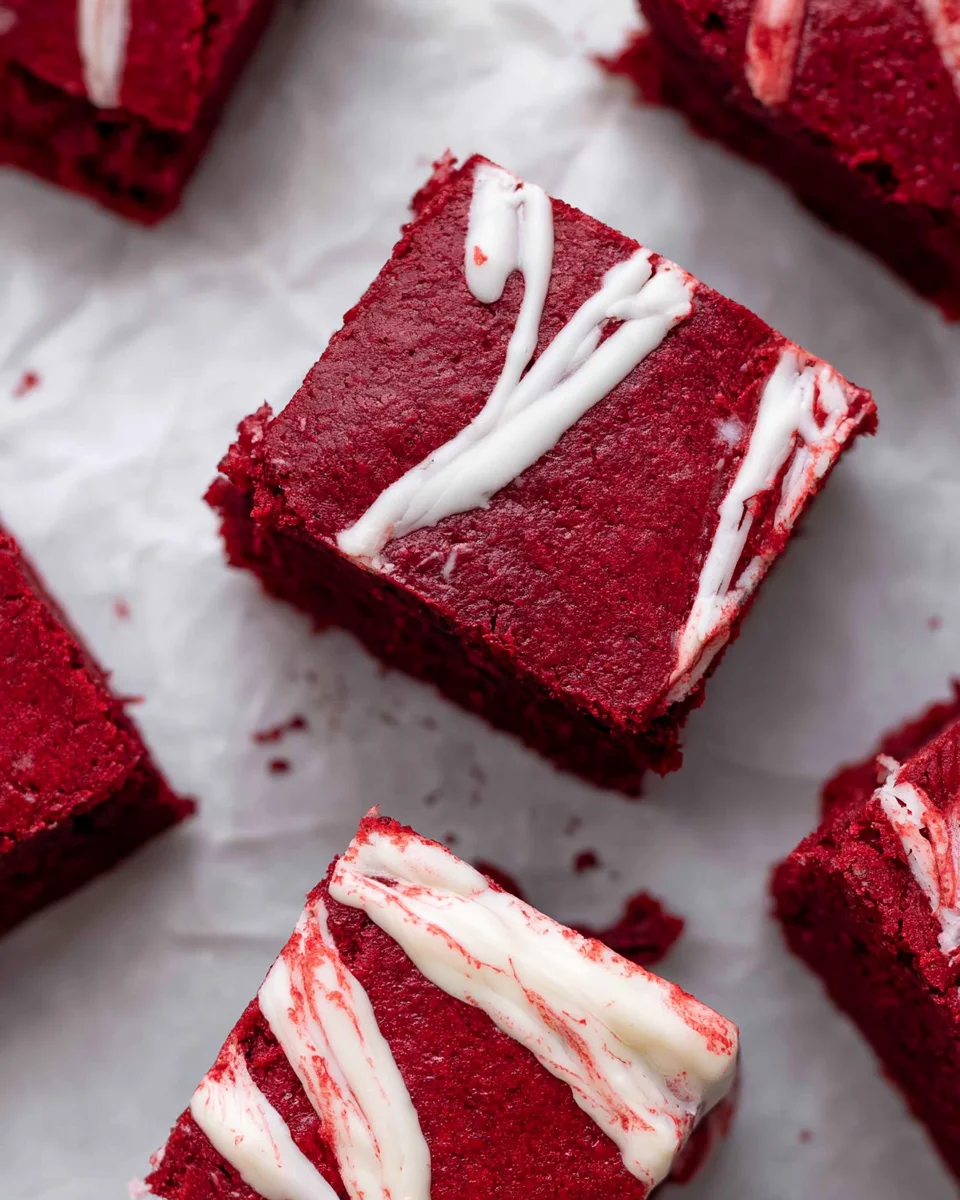
The Best Fudgy Red Velvet Brownies Recipe
Ingredients
Equipment
Method
- Step 1: Preheat your oven to 350°F (175°C). Grease and line a 9x13 inch baking pan with parchment paper.
- Step 2: In a medium saucepan, melt the butter over low heat. Once melted, remove from heat and let it cool slightly.
- Step 3: In a large mixing bowl, combine the melted butter, granulated sugar, and brown sugar. Stir until well combined.
- Step 4: Add the eggs one at a time, mixing well after each addition. Stir in the vanilla extract and red food coloring until fully incorporated.
- Step 5: In a separate bowl, whisk together the flour, cocoa powder, baking powder, baking soda, and salt.
- Step 6: Gradually add the dry ingredients to the wet ingredients, mixing until just combined. Be careful not to overmix, as this can make the brownies tough.
- Step 7: If you're using them, fold in the chocolate chips and chopped nuts until evenly distributed throughout the batter.
- Step 8: Pour the brownie batter into the prepared baking pan, spreading it evenly. Bake in the preheated oven for 25-30 minutes, or until a toothpick inserted into the center comes out with a few moist crumbs (not wet batter).
- Step 9: Allow the brownies to cool in the pan for about 15 minutes. Then, lift them out using the parchment paper and let them cool completely on a wire rack. Cut into squares and enjoy!