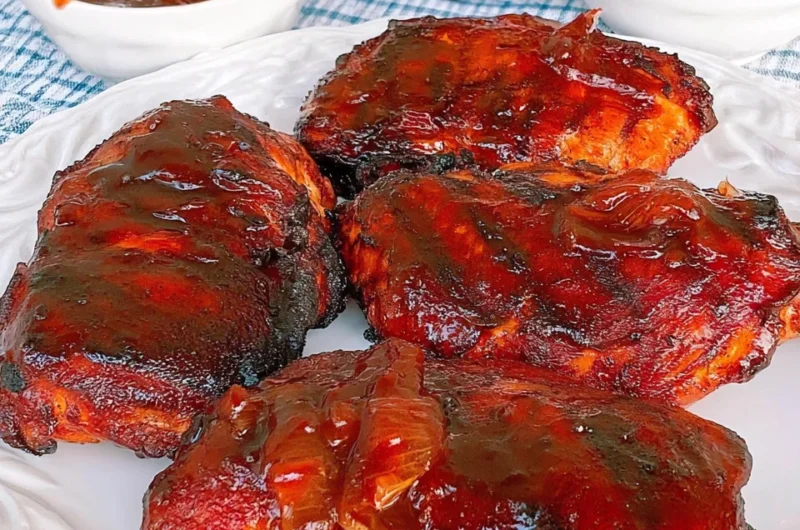
There’s something magical about grilling chicken on a warm summer evening. The aroma fills the air, and you can almost taste the joy of gathering around the table with loved ones. This Cherry Dr. Pepper Grilled Chicken is not only memorable but also incredibly easy to whip up. With just a handful of ingredients, you can create a dish that is bound to impress!
Why You’ll Love Cherry Dr. Pepper Grilled Chicken
- Fast
- Easy
- Giftable
- Crowd-pleasing
Ingredients
- 4 boneless, skinless chicken breasts: The star of the show, tender and juicy.
- 1 cup Cherry Dr. Pepper: Adds a sweet and tangy flavor that’s simply irresistible.
- 1/2 cup barbecue sauce: A kick of smokiness to enhance the cherry flavor.
- 1 tablespoon olive oil: Helps to keep the chicken moist while grilling.
- 2 cloves garlic, minced: Because garlic makes everything better!
- 1 teaspoon onion powder: Adds depth to the marinade.
- 1 teaspoon smoked paprika: Provides a lovely smoky flavor.
- 1/2 teaspoon salt: Essential for enhancing the flavors.
- 1/2 teaspoon black pepper: A bit of spice to kick things up.
- Fresh parsley, chopped (for garnish): A pop of color and freshness.
How to Make Cherry Dr. Pepper Grilled Chicken
Ready to dive into this delicious recipe? Let’s get started!
- Marinate the Chicken: In a large bowl, combine the Cherry Dr. Pepper, barbecue sauce, olive oil, minced garlic, onion powder, smoked paprika, salt, and black pepper. Whisk until well blended. Add the chicken breasts to the marinade, ensuring they are fully coated. Cover and refrigerate for at least 1 hour, or overnight for best flavor.
- Preheat the Grill: Preheat your grill to medium-high heat (about 375°F to 400°F). This is key for getting that nice char on your chicken.
- Grill the Chicken: Remove the chicken from the marinade, letting any excess liquid drip off. Place the chicken on the grill. Cook for about 6-7 minutes on one side, then flip and cook for another 6-7 minutes, or until the chicken reaches an internal temperature of 165°F.
- Baste While Grilling: If desired, brush the chicken with additional barbecue sauce during the last few minutes of grilling for extra flavor.
- Rest and Serve: Once cooked, remove the chicken from the grill and let it rest for 5 minutes. Garnish with fresh parsley before serving.
Substitutions & Additions
If you’re feeling adventurous, try these swaps and additions:
- Swap Cherry Dr. Pepper for another soda like cola for a different flavor profile.
- Add a tablespoon of honey to the marinade for a touch of extra sweetness.
- Mix in some chopped jalapeños for a spicy kick!
Tips for Success
Here are a few tips to ensure your Cherry Dr. Pepper Grilled Chicken turns out amazing:
- Don’t rush the marinating process; the longer it sits, the more flavorful it becomes.
- Ensure your grill is preheated to prevent sticking and promote even cooking.
- Use a meat thermometer to check for doneness – it’s the best way to avoid overcooking.
How to Store Cherry Dr. Pepper Grilled Chicken
If you have leftovers (which is rare but can happen), here’s how to store them:
- Refrigerate in an airtight container for up to 4 days.
- To freeze, wrap the chicken tightly in plastic wrap and then in foil. It can be frozen for up to 3 months.
FAQs
- Can I use bone-in chicken? Yes, just adjust the cooking time to ensure it’s fully cooked.
- Can I bake the chicken instead of grilling? Absolutely! Bake at 375°F for about 25-30 minutes or until cooked through.
- What should I serve with this chicken? Try it with a refreshing Mediterranean chickpea salad or some grilled veggies!
There you have it! Your Cherry Dr. Pepper Grilled Chicken is ready to shine on your dinner table. For more delicious recipes, check out this apple pie or Twix cookie cups for treats you will love!
Don’t forget to follow us on Pinterest for more cooking inspiration and delightful recipes!
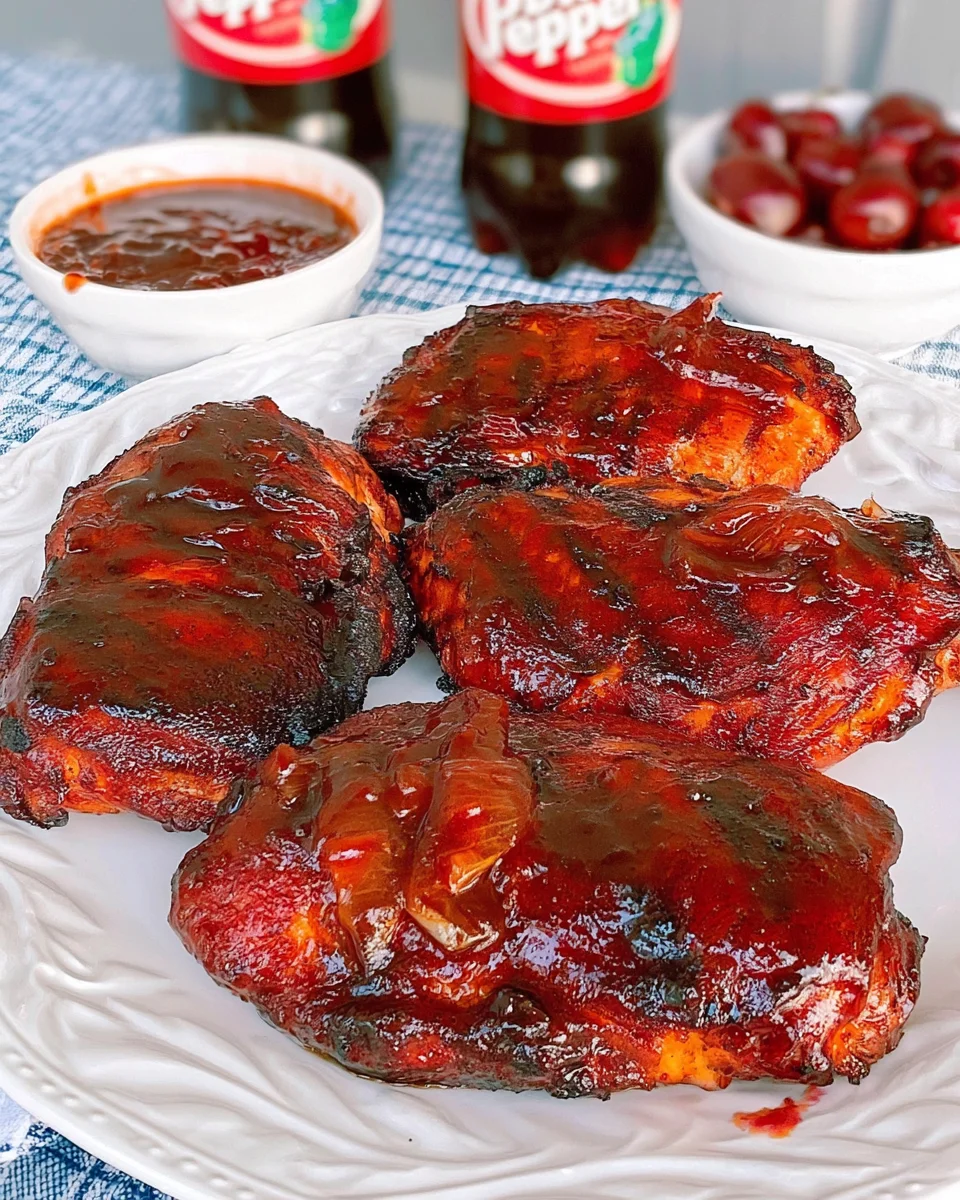
Cherry Dr. Pepper Grilled Chicken
Ingredients
Equipment
Method
- Step 1: In a large bowl, combine the Cherry Dr. Pepper, barbecue sauce, olive oil, minced garlic, onion powder, smoked paprika, salt, and black pepper. Whisk until well blended. Add the chicken breasts to the marinade, ensuring they are fully coated. Cover and refrigerate for at least 1 hour, or overnight for best flavor.
- Step 2: Preheat your grill to medium-high heat (about 375°F to 400°F).
- Step 3: Remove the chicken from the marinade, letting any excess liquid drip off. Place the chicken on the grill. Cook for about 6-7 minutes on one side, then flip and cook for another 6-7 minutes, or until the chicken reaches an internal temperature of 165°F.
- Step 4: If desired, brush the chicken with additional barbecue sauce during the last few minutes of grilling for extra flavor.
- Step 5: Once cooked, remove the chicken from the grill and let it rest for 5 minutes. Garnish with fresh parsley before serving.